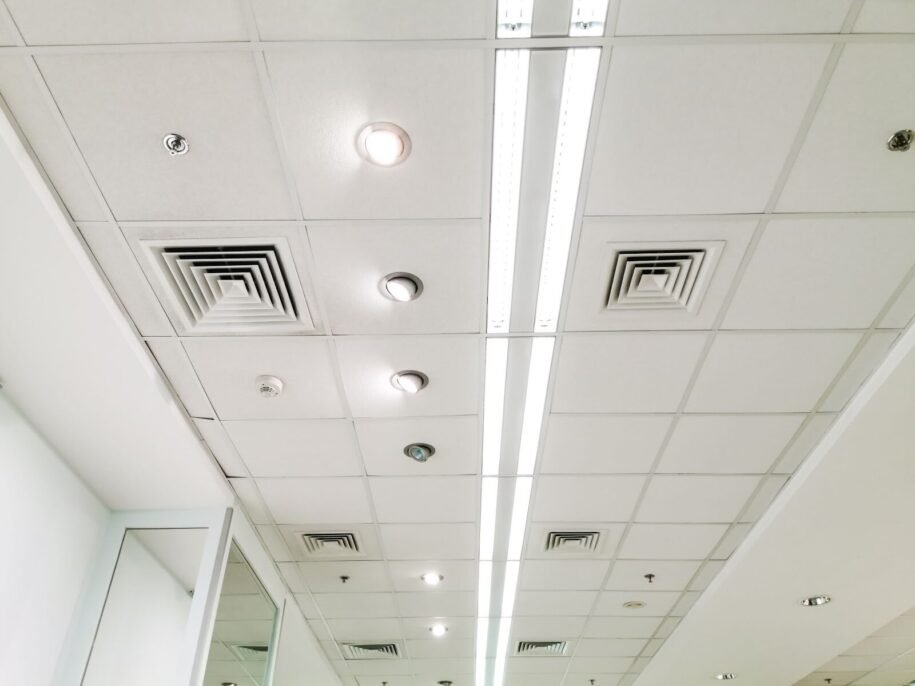
Maintaining the cleanliness and condition of an Acoustical Ceiling is crucial to preserving both its functionality and aesthetic appeal. Acoustical ceiling panels help reduce noise and improve sound quality, but over time, dust, dirt, and other debris can accumulate on them. Regular cleaning not only enhances their performance but also ensures they last longer. Here are some practical steps for cleaning and maintaining your acoustical ceiling panels effectively.
1. Determine the Type of Panel
Before beginning the cleaning process, it’s essential to understand the material and finish of your acoustical ceiling panels. There are various types of panels, including fiberglass, mineral fiber, and ceiling tiles with a vinyl coating. Each material requires specific cleaning techniques to avoid damage. For example, some panels may be more susceptible to moisture, so using the right method is key to protecting the integrity of the ceiling.
If you’re unsure about the type of panel you have, consult the manufacturer’s guidelines. This will help you identify the correct cleaning solutions and tools to use. Additionally, check whether the panels have any warranties, as certain cleaning methods may void them.
2. Dusting and Vacuuming
The first step in cleaning acoustical ceiling panels is to remove any dust and loose debris. Dusting should be done gently to avoid damaging the surface. You can use a soft-bristled brush or a microfiber cloth to wipe away dust from the panels. A long-handled dusting tool with an adjustable head can make this task easier, especially if the ceiling is high.
For a more thorough cleaning, use a vacuum cleaner with a brush attachment. This method is effective for picking up dust, cobwebs, and dirt that has accumulated in hard-to-reach places. It’s important to keep the vacuum at a distance from the panels to avoid any accidental damage.
3. Spot Cleaning Stains
Accidents happen, and sometimes stains or marks can appear on acoustical ceiling panels. The key to removing these stains is acting quickly. For light stains, a damp cloth with a mild detergent solution may be sufficient. Gently blot the stained area, being careful not to saturate the panel. Excess moisture can damage the panels and promote mold growth, so avoid using large amounts of water.
If the stains persist, you can try using a specialized cleaner designed for acoustical ceiling materials. Always test the cleaner in a small, inconspicuous area first to ensure it won’t cause discoloration or damage. Never use abrasive cleaners or scrub brushes, as these can scratch the surface and ruin the finish of the panels.
4. Deep Cleaning and Dealing with Mold
If mold or mildew develops on the acoustical ceiling, it’s important to address it promptly. Mold thrives in damp environments, so it’s crucial to locate the source of moisture. Once the source is identified and eliminated, clean the affected area using a solution of water and mild detergent. Alternatively, a mixture of white vinegar and water can be used to kill mold spores.
For persistent mold issues, consider using a mold-specific cleaner. Be sure to follow the manufacturer’s instructions and wear protective gloves and a mask to avoid inhaling mold spores during the cleaning process. In cases where mold has spread extensively, it may be necessary to replace the affected panels to ensure the problem doesn’t continue to spread.
5. Preventative Maintenance
To keep your acoustical ceiling panels in good condition, it’s important to implement a routine maintenance schedule. Regularly inspect the ceiling for any signs of damage, such as cracks, dents, or discoloration. If you notice any panels that are sagging or not properly aligned, it may be time to replace them or have them professionally reinstalled.
Additionally, managing the indoor environment can help reduce the amount of dust and dirt that settles on your ceiling. Keep windows closed during windy conditions and consider using air purifiers to reduce the amount of airborne debris. Regularly cleaning your HVAC system will also help improve air quality and reduce the accumulation of dust in your space.
6. Replace Damaged Panels
Even with the best care, some acoustical ceiling panels may become damaged beyond repair. If you notice cracks, significant stains, or panels that have become warped, it may be time to replace them. When replacing panels, be sure to use the same material and style to maintain the consistency and functionality of the ceiling. If you’re unsure about the replacement process, consider consulting with a professional to ensure the new panels are installed correctly.
7. Professional Cleaning Services
For large spaces or ceilings that are difficult to access, it might be worth hiring a professional cleaning service. Professionals have specialized equipment and expertise to clean and maintain acoustical ceiling panels without causing damage. They can also provide a more thorough inspection of the ceiling to identify any potential issues before they become major problems.
Professional services can also be beneficial for deep cleaning, such as removing stubborn stains, mold, or other contaminants that may have settled on the panels over time. If you’re concerned about maintaining your ceiling properly, enlisting the help of experts can give you peace of mind.
Conclusion
Proper cleaning and maintenance of your acoustical ceiling panels are essential to preserving their performance and appearance. By dusting regularly, spot cleaning stains, and addressing issues like mold promptly, you can ensure that your ceiling continues to enhance the acoustics and aesthetics of your space. With the right care, acoustical ceiling panels can last for many years, providing both sound control and visual appeal for residential or commercial environments.


